Aria Automation

Installing VMware Aria Automation Using the Easy Installer
In this guide, I’ll walk you through the steps to successfully install VMware Aria Automation using the Easy Installer ISO. We’ll cover a standard installation scenario, which includes deploying one VMware Aria Suite Lifecycle Manager, one VMware Identity Manager, and one VMware Aria Automation instance. Note that in a production environment, you should plan for a clustered deployment.
Prerequisites
- Download the Easy Installer ISO: Obtain the ISO from the official VMware source. It’s approximately 20 GB.
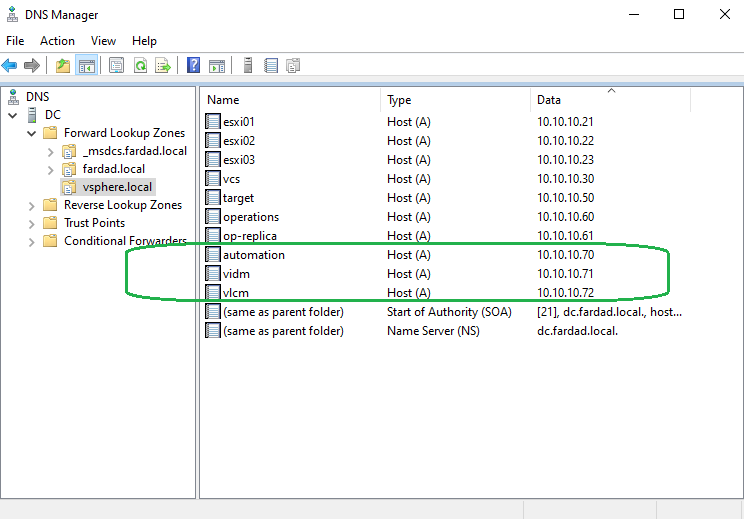
- Create DNS Records: Set up DNS records for the three virtual machines (Lifecycle Manager, Identity Manager, and Automation).
Installation Steps
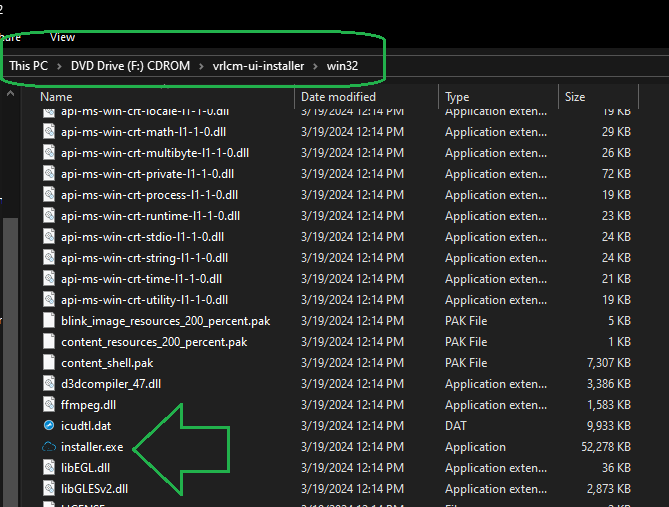
- Mount the ISO: Mount the ISO file and navigate to the
vrlcm-ui-installerfolder. Choose the appropriate installer for your client machine’s OS. For Windows, open thewin32folder and run theinstaller.exefile.
- Launch the Installer: Open the installer and click
Install. You should see an introduction screen.
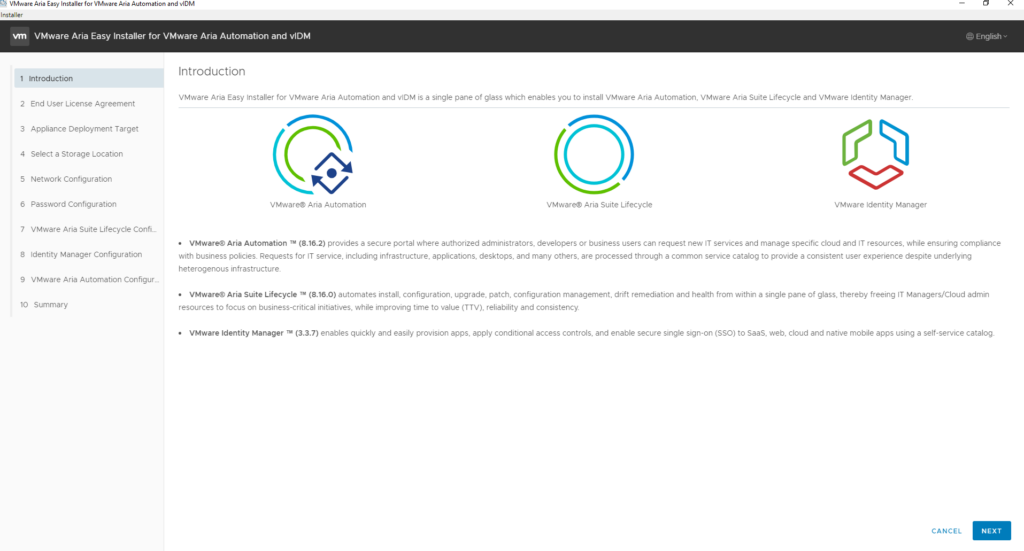
- Accept the License Agreement: Read and accept the End User License Agreement, then click
Next.

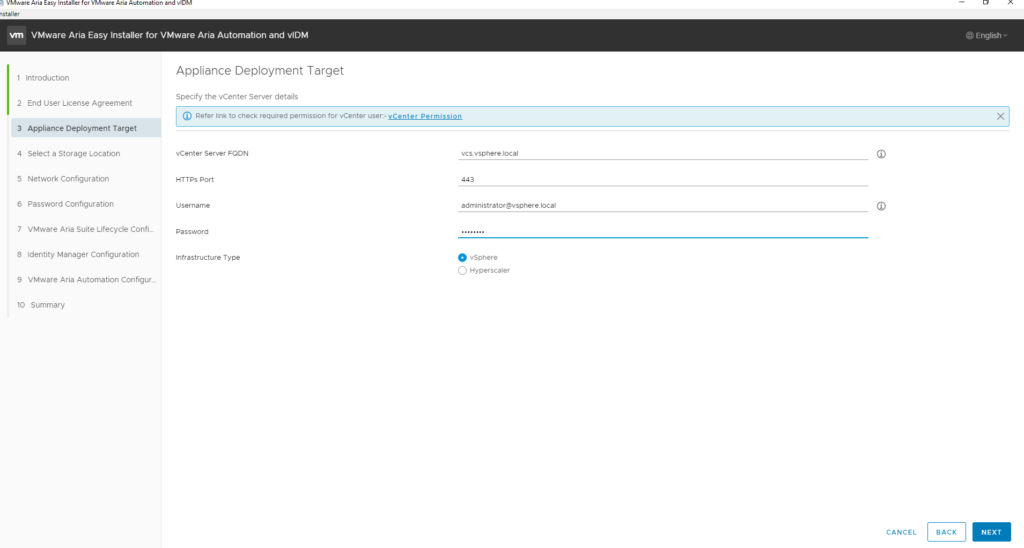
- Connect to Infrastructure: Enter the credentials for the infrastructure where you want to deploy the VMs.
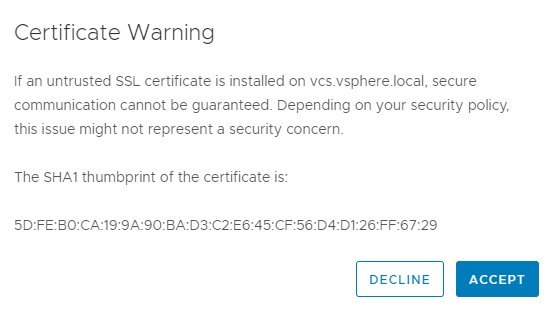
- Accept the Certificate: Accept the certificate warning to proceed.
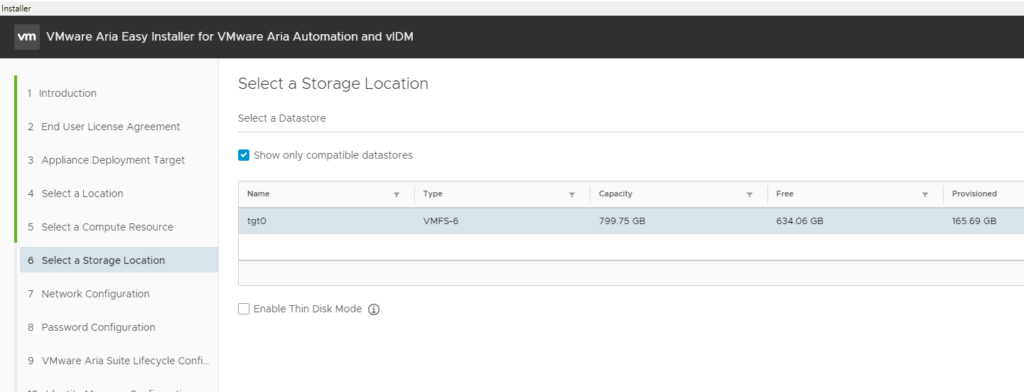
- Select Deployment Resources: Choose the VM folder, compute resource (vSphere cluster), and target storage for deployment.

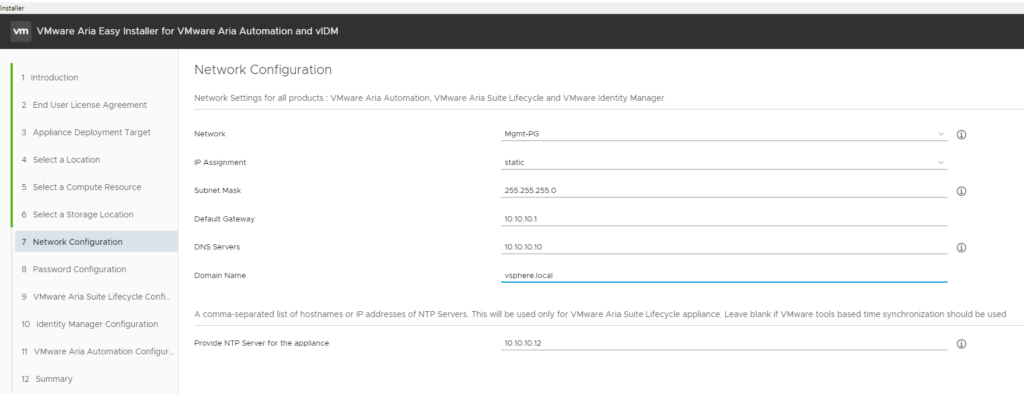
- Configure Network Settings: Set the network configurations for all products. Provide a root password for all VMs.
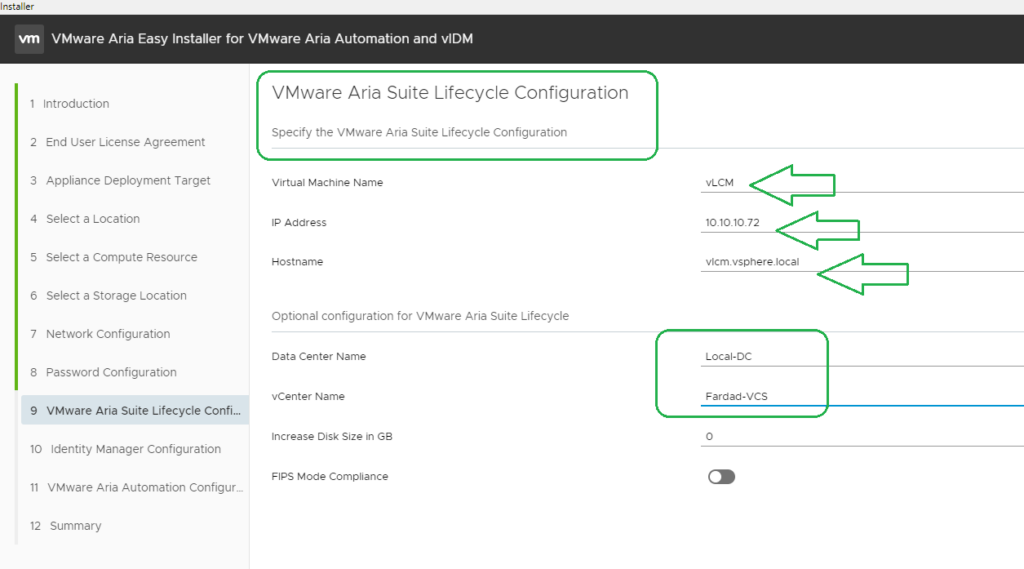
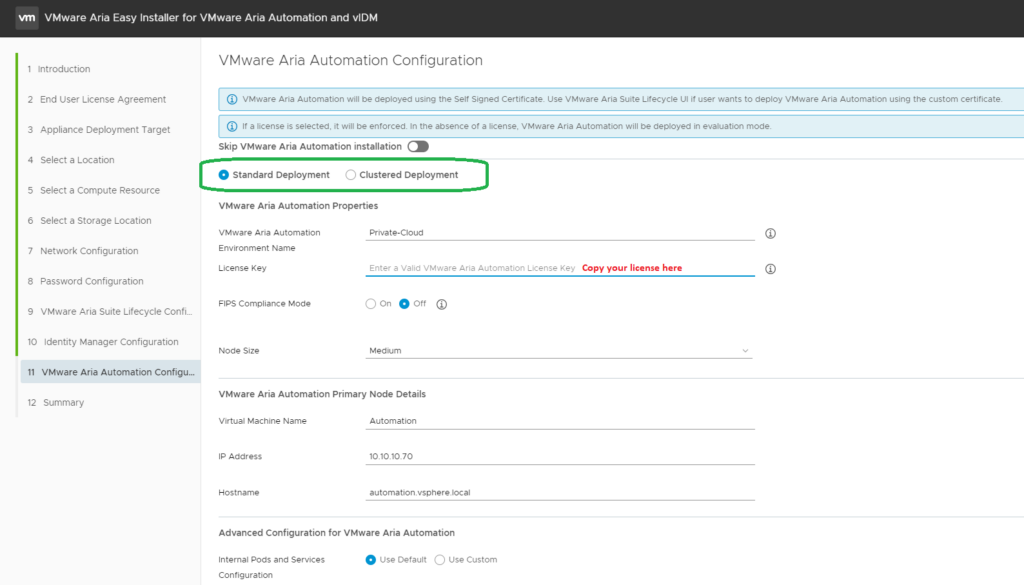
Product Configuration:
- VMware Aria Suite Lifecycle Manager:
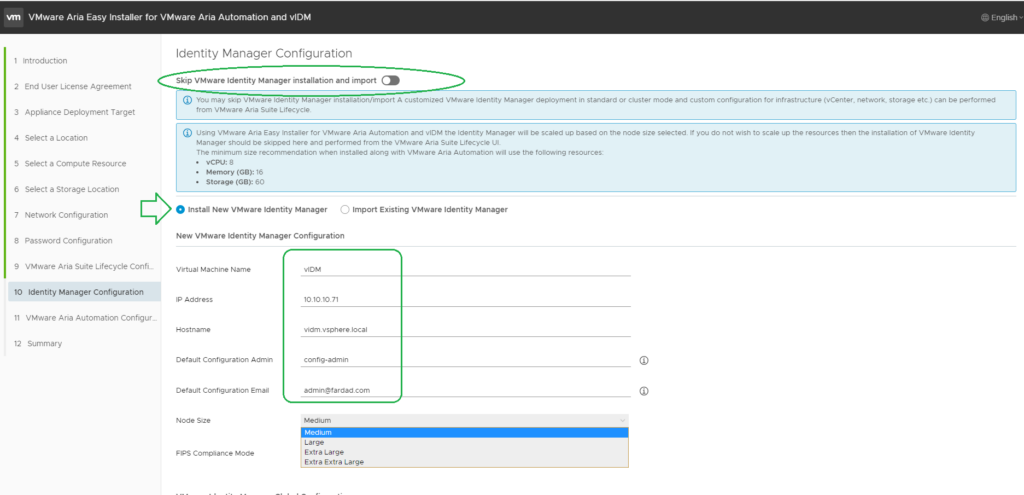
- VMware Identity Manager (vIDM): Provide the network settings.
- VMware Aria Automation: Enter the network settings and a license key for Aria Automation.
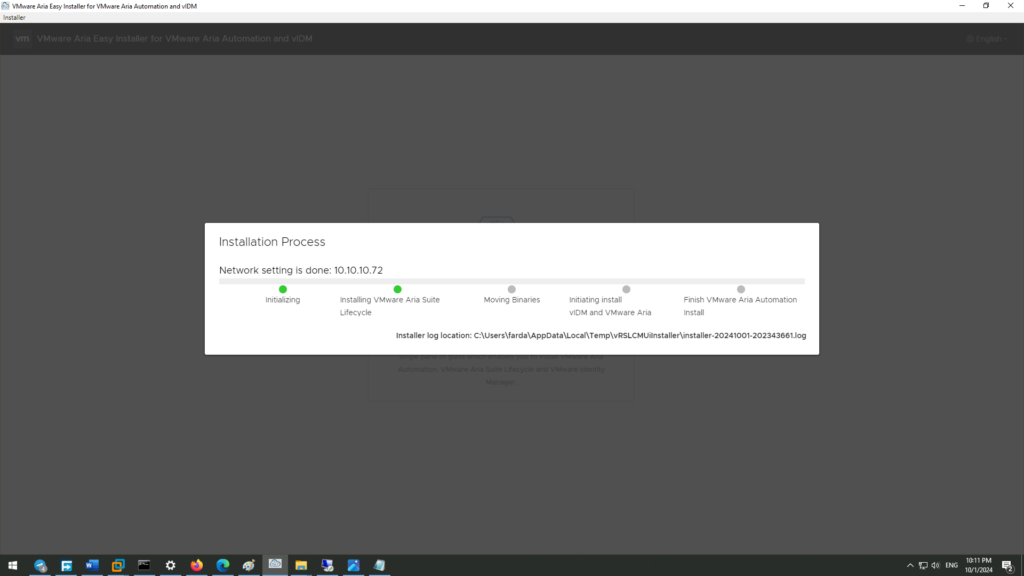
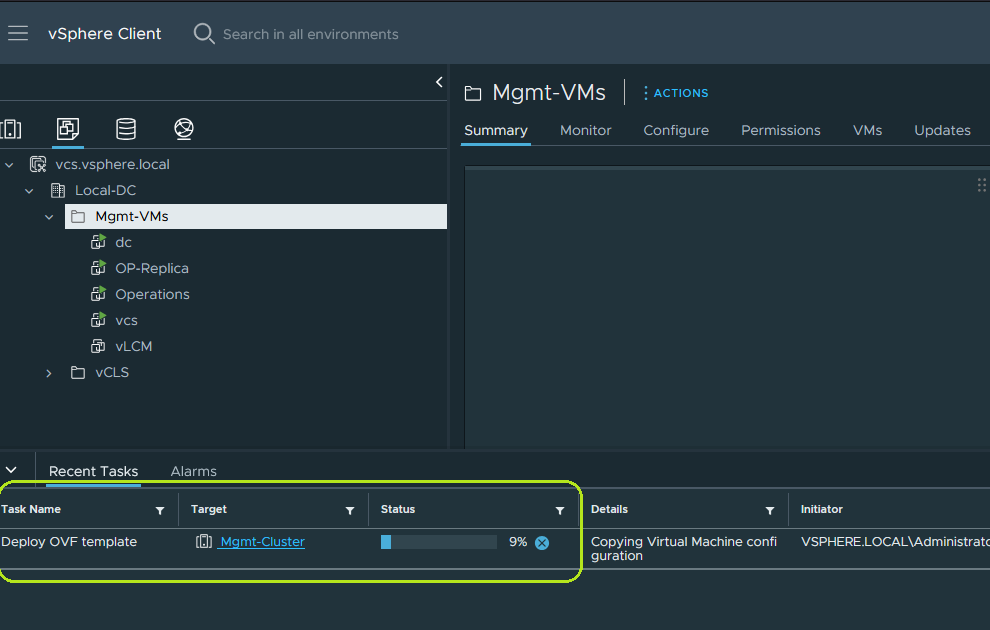
Deployment
- The installer UI will display the progress of the installation. You can also monitor the deployment tasks in your vSphere environment. This process may take some time, so be patient.
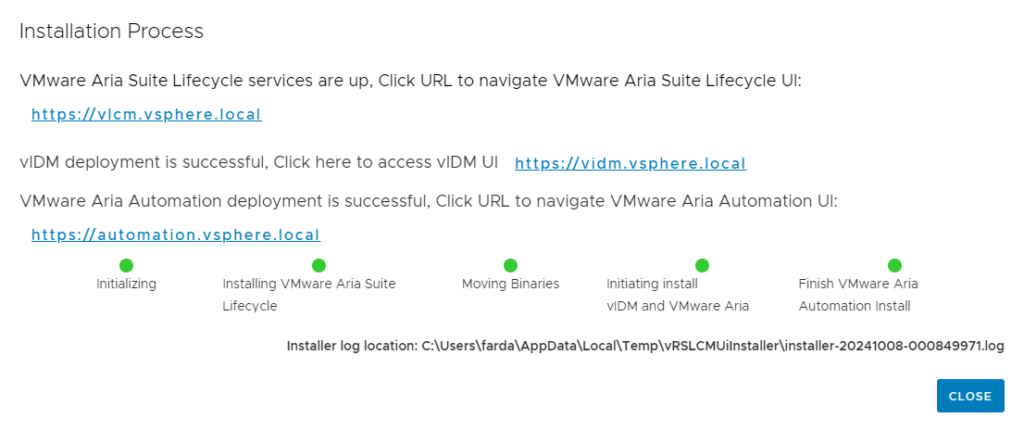
Post-Installation
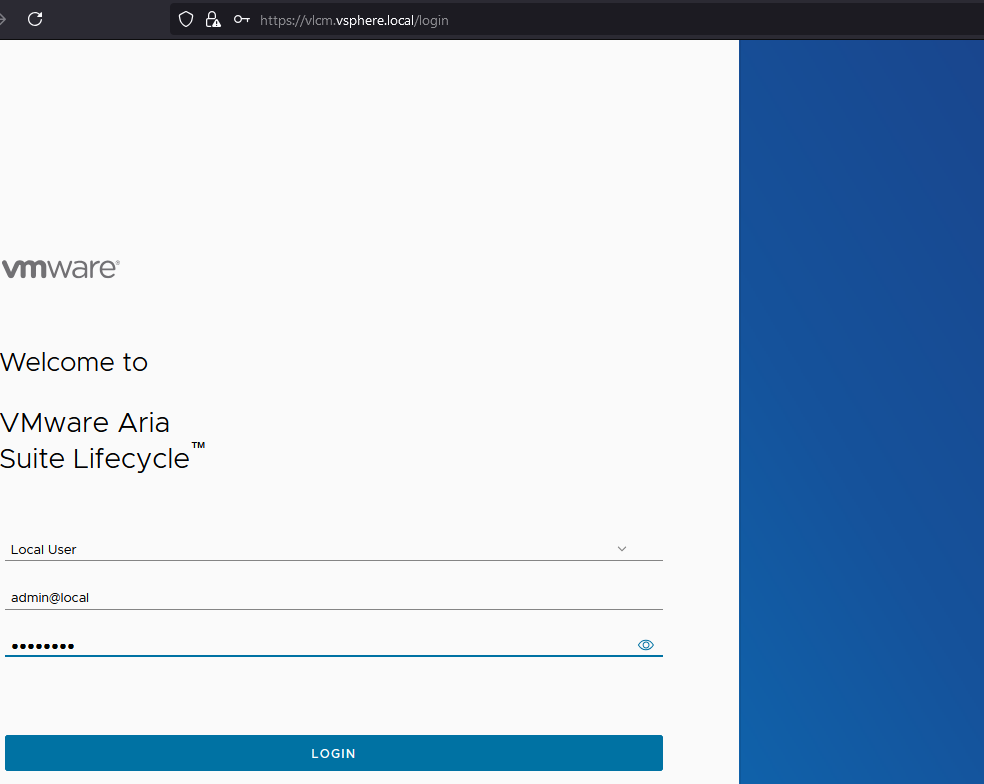
- Once all steps are completed, you can access the vIDM to continue designing your cloud environment.
- If any tasks fail, check the deployment of the first VM (Aria Suite Lifecycle Manager). If it was deployed successfully, you can retry the deployment of vIDM and Automation through the Lifecycle Manager’s web interface.
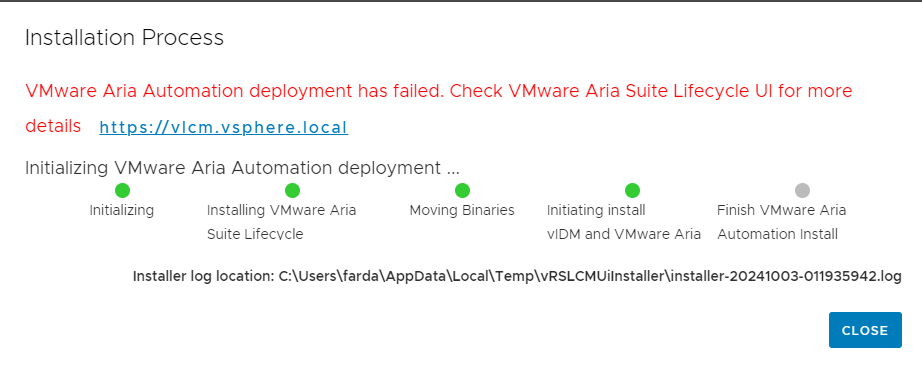

- If the Lifecycle Manager is not accessible, clean your vSphere datastore and inventory, then restart the installation process.
Fardad Milani
0
Tags :